At Survival Band, we make the highest quality paracord bracelets you will find but we also feel it is important to share some of the lessons we have learned while building professional grade survival bands. The following tutorial outlines the steps neccessary to build your own Survival Band Paracord Bracelet jig.
Required Materials:
- 20″ of 1/2 x 1 1/2 wood
- 2 Plastic wire clamps
- 1 wood screen 1″ long
- 3/8 drill bit
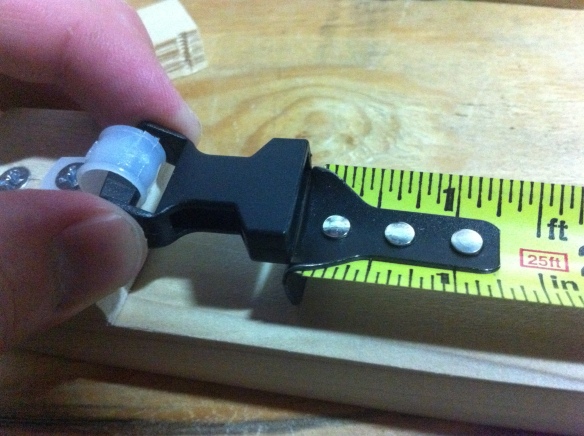
- 3/8 bolt and nut
- Hand saw
- Measuring tape
- 1 contoured side release buckle (5/8, 3/8, etc)
Step 1: Cut wood into (1) 16″ piece and (2) 1 1/2 x 1 1/2 pieces
Step 2: Screw one of the small blocks onto one of the ends of the larger piece of wood
(You may want to drill pilot holes first to prevent the wood from spitting)
Step 3: Attach one side of the buckle to the block of wood using a cable clamp
Step 4: Attach the other side of the buckle to the other block of wood using the other cable clamp
Step 5: Mark the starting point of the first buckle half on the board
Step 6: Place the measuring tape on that line and mark the board, every inch until you get to 12 inches
Step 7: Using the loose block and buckle half, line up the base of the male end with one of the inch markers, for instance, line it up with the 8 inch mark
Step 8: Drill a hold through both pieces of wood to allow a bolt to hold the 2 pieces of wood together
Step 9: Lining up the buckle base with the inch marks you made, drill the remaining holes.
Step 10: Nice work! Your ready to build your Survival Band Paracord Bracelet!
Now here is a little sneak peak at an upcoming tutorial in which we will build a Survival Band Paracord Bracelet


